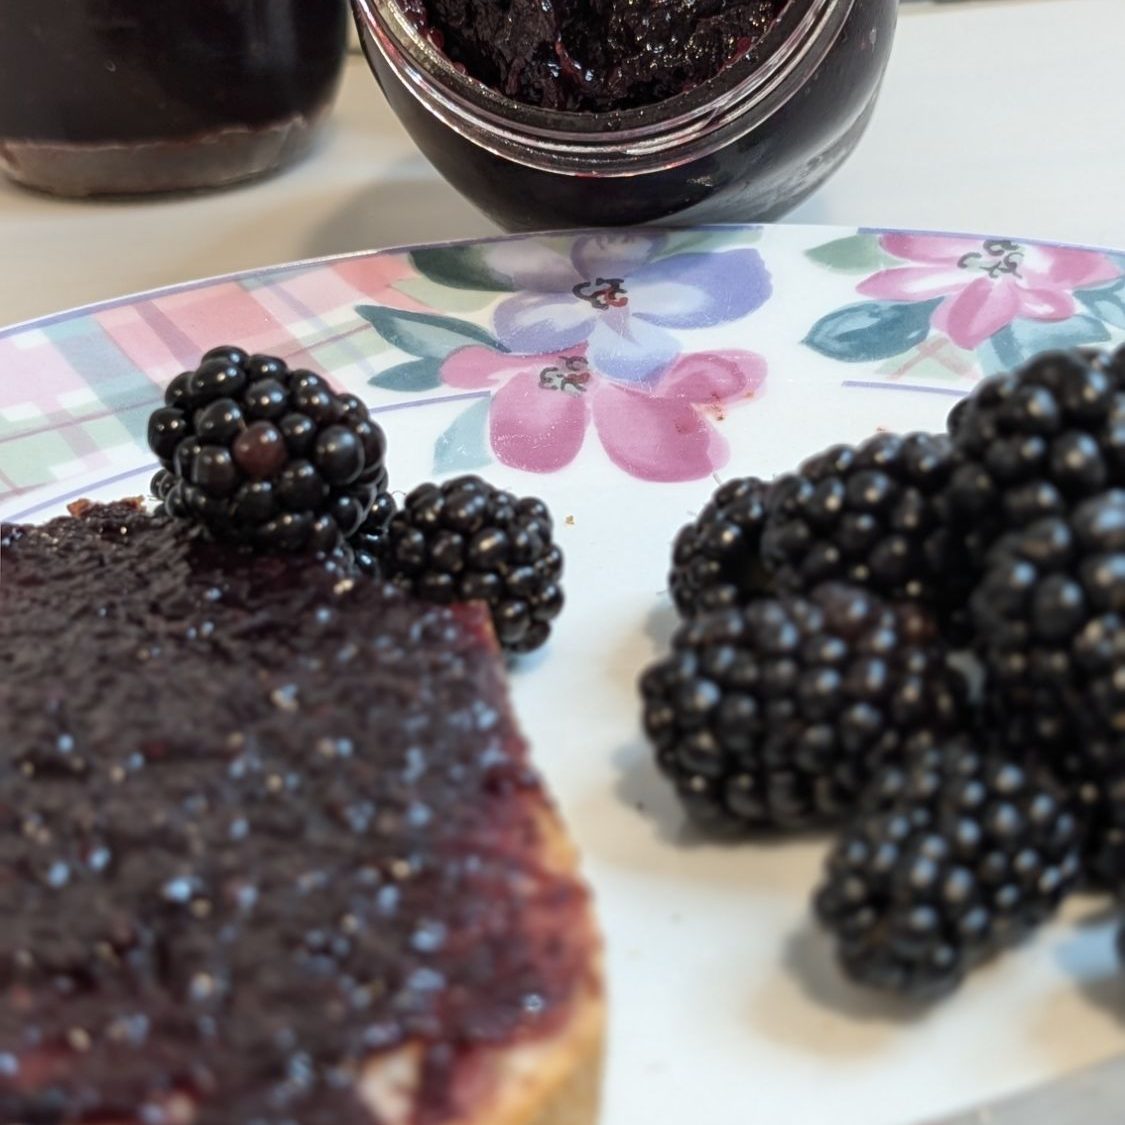
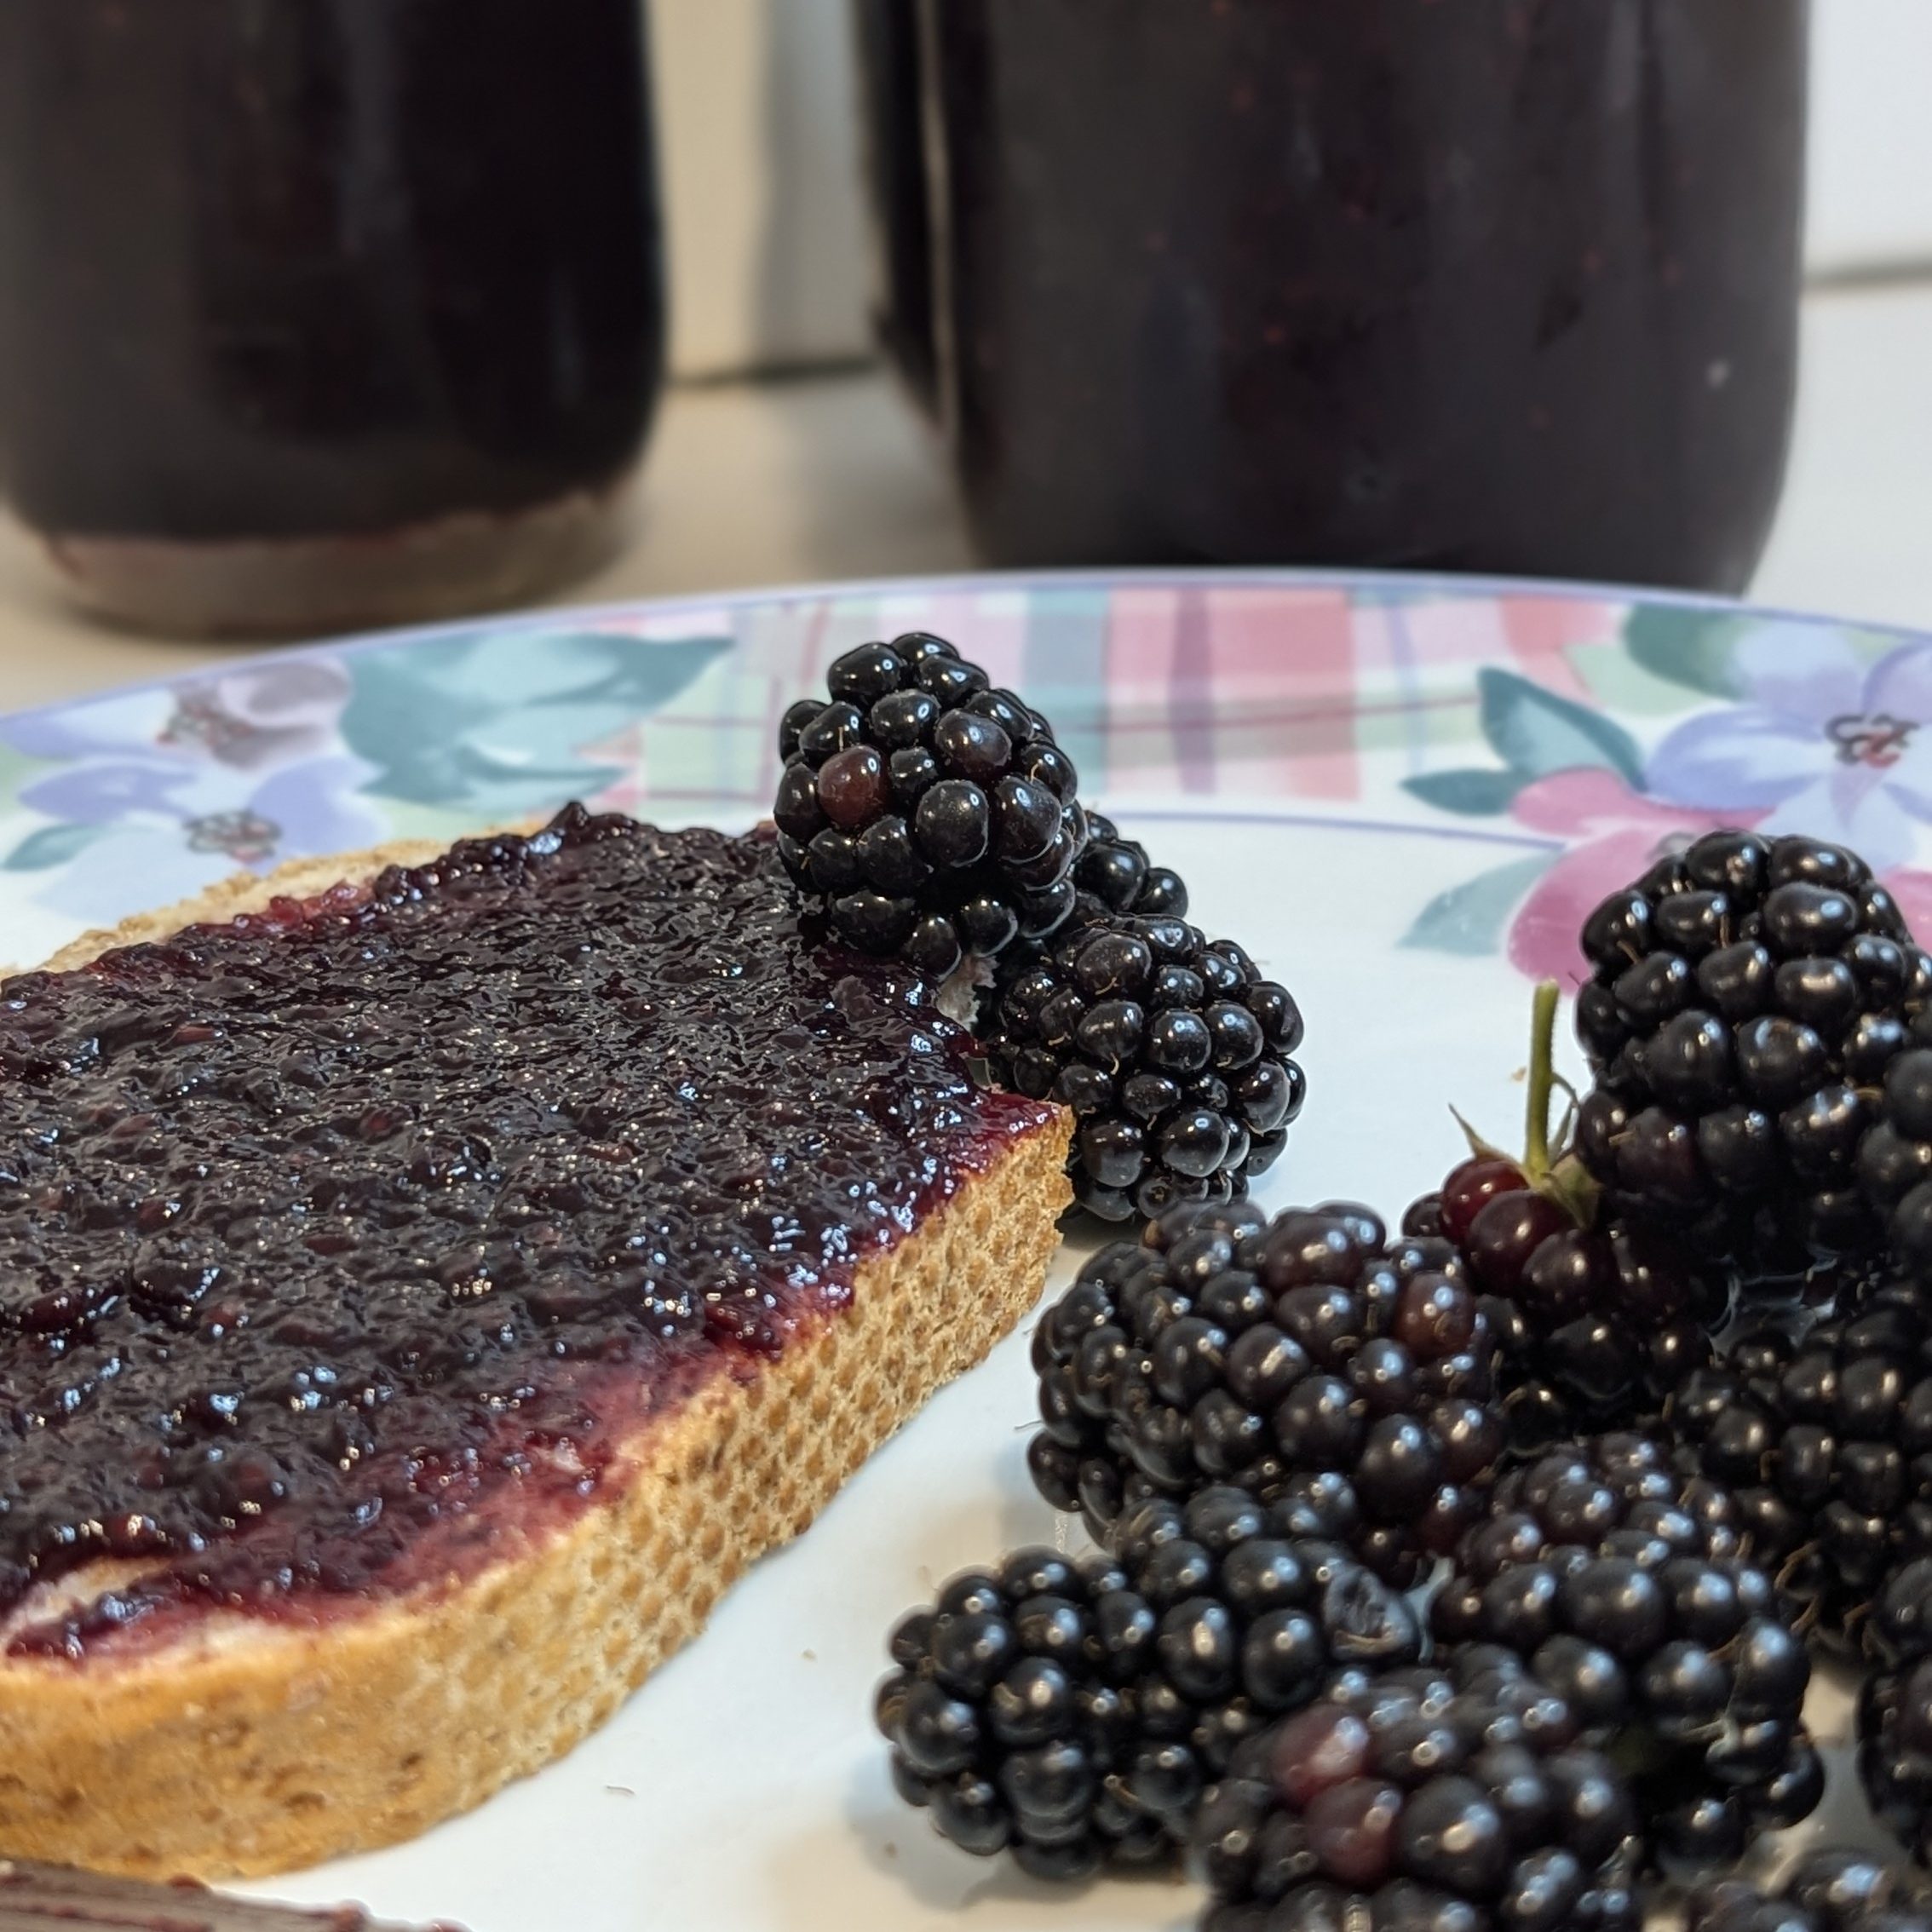
Watch step-by-step, how to make delicious homemade blackberry jam from scratch. From picking the ripest berries to jarring the finished product, this tutorial will have you creating your own sweet spread in no time. Perfect for toast, scones, or as a thoughtful gift for friends and family!
Ingredients:
1 kg blackberries
½ kg white sugar
½ teaspoon lemon juice
Mash blackberries in a saucepan with a potato masher; stir in sugar and bring blackberries to a boil; cook, stirring often, until jam has thickened, about 15 minutes.
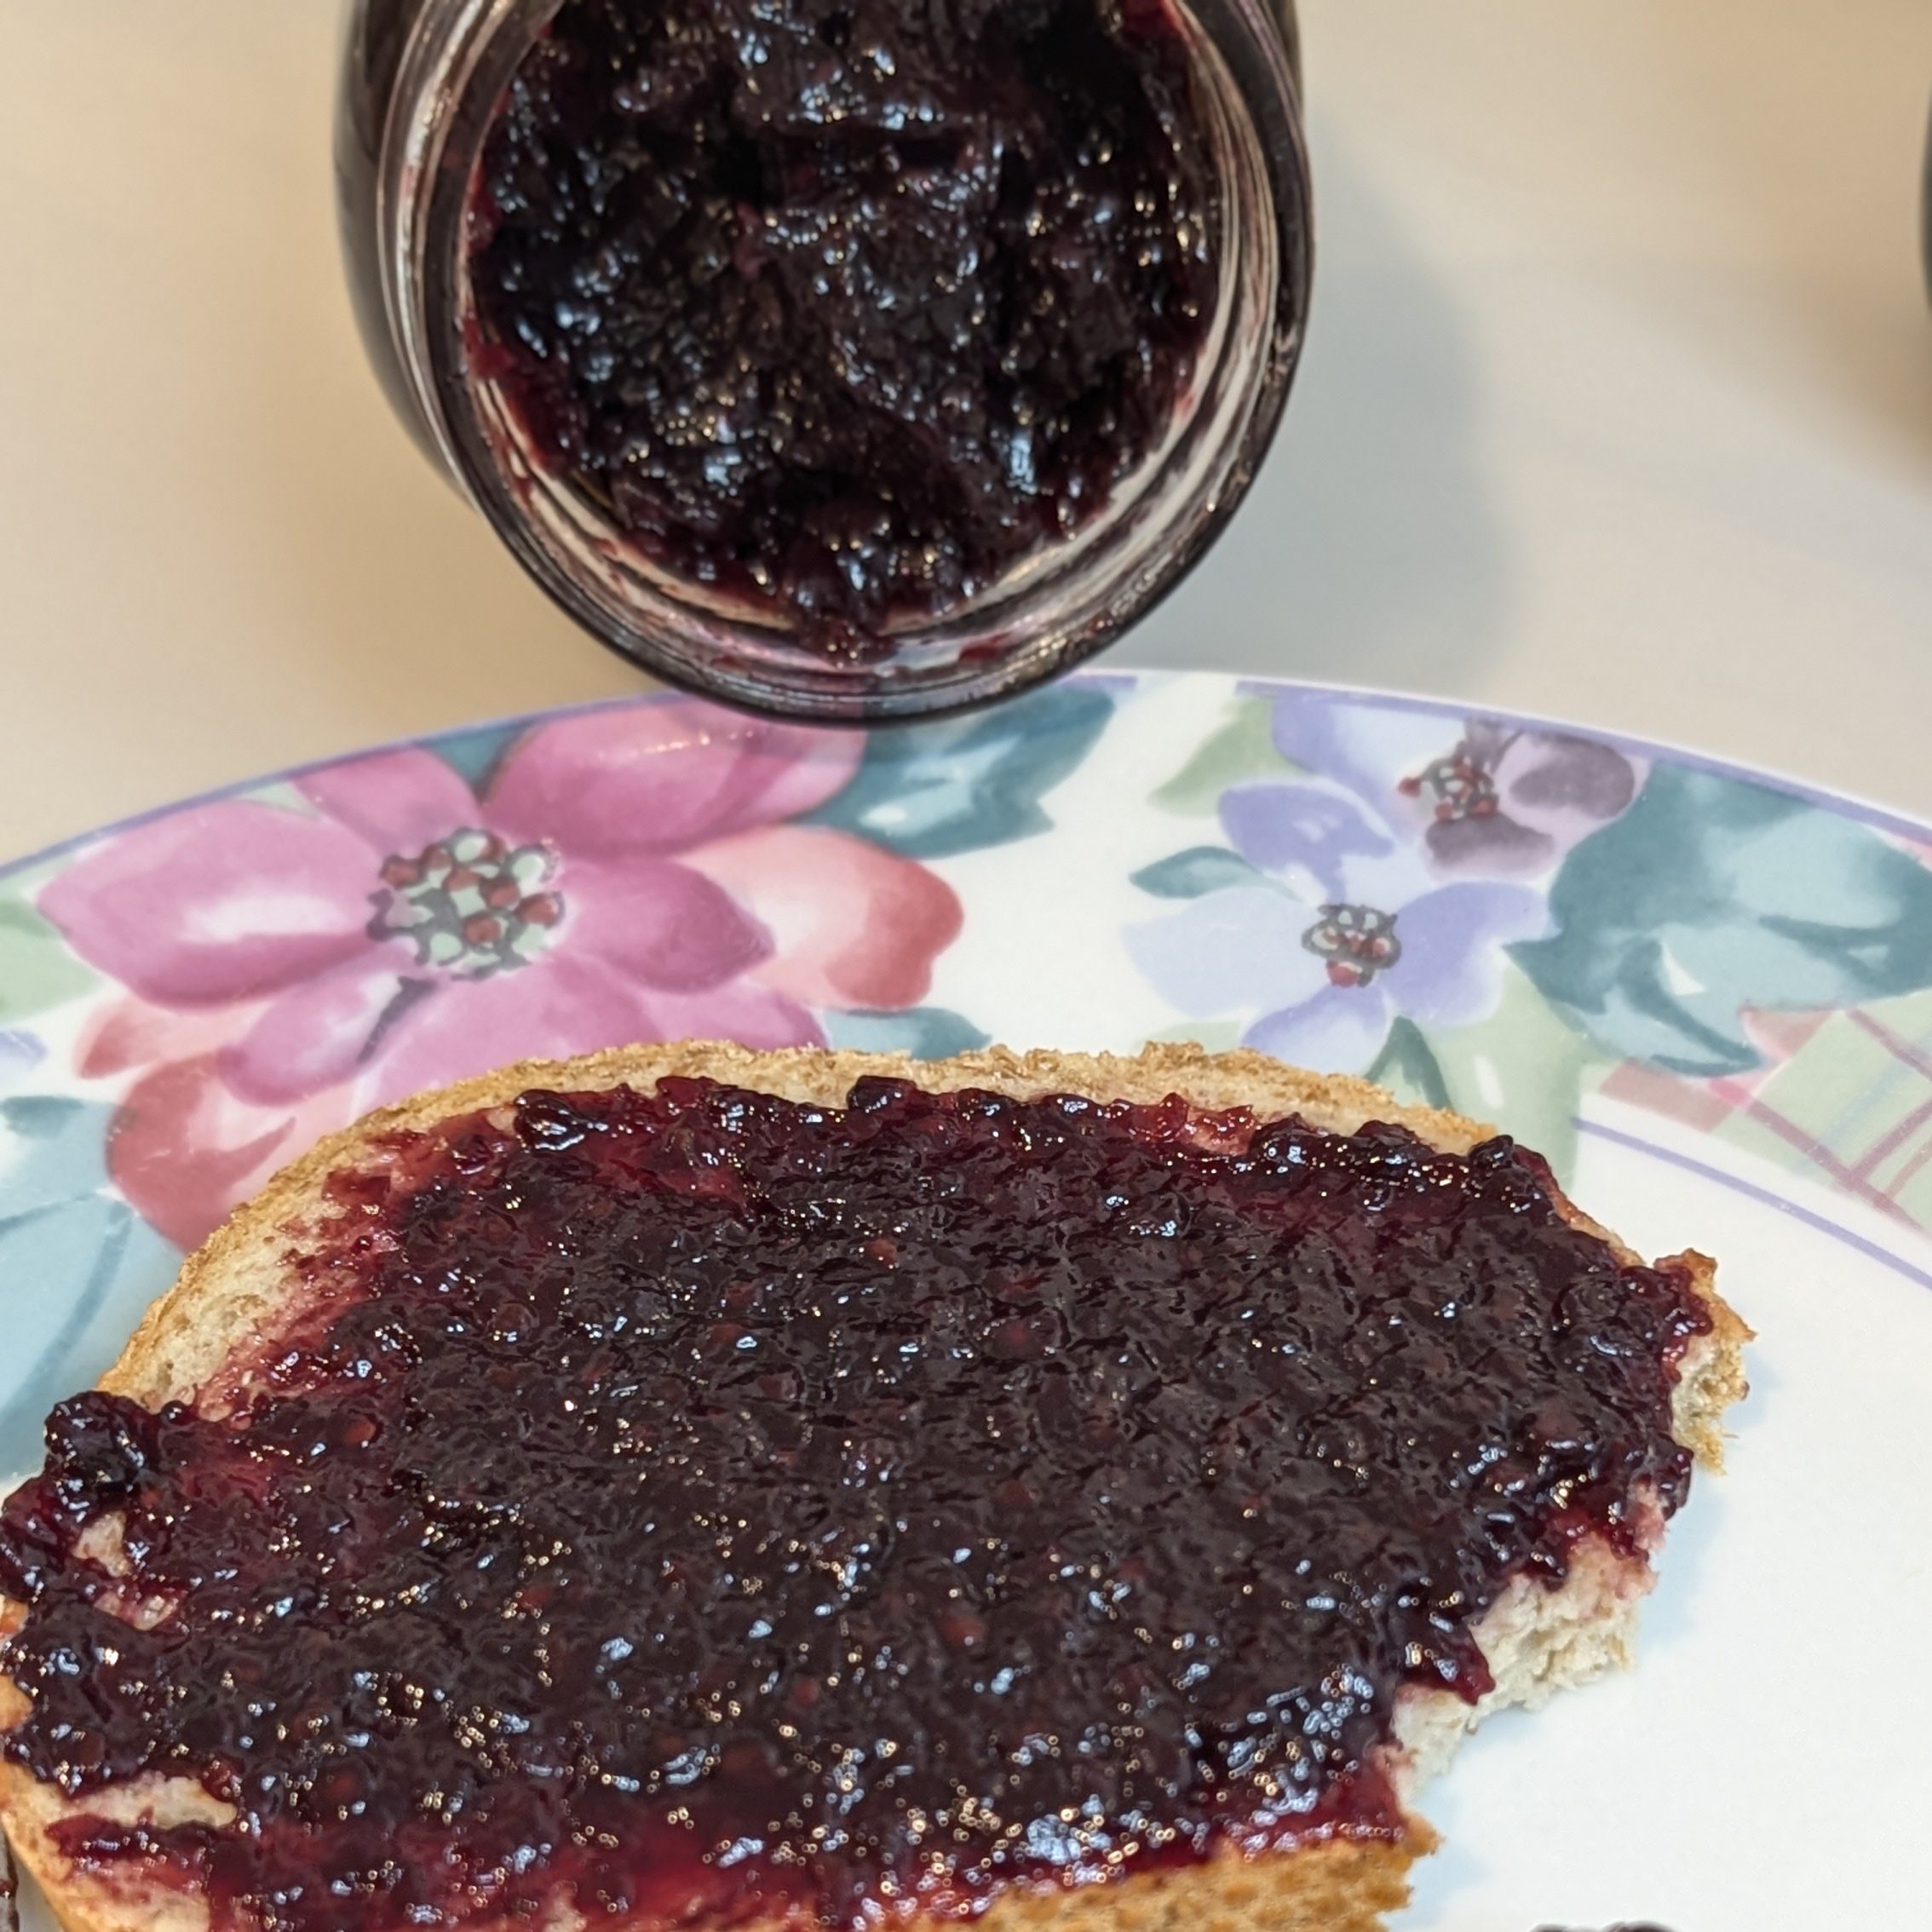
While it may look too juicy in the pot, once your jam hits between 210°F and 220°F, it’s done. Once cooled to room temperature and chilled in the fridge, it will set to jam consistency.
When your jam reduces, about 13 to 15 minutes into the simmer, place a dollop onto a frozen plate and observe how it sets. If it’s still too loose after chilling on the plate for 10 seconds, continue cooking. If the jam stops moving when you tilt the plate, and you can draw a clean line through it with your finger, it’s ready to be jarred.
Turn off the heat and allow the jam to cool, slightly, for 5-10 minutes before pouring it out into sterilized jars which will allow the fruit to settle so it doesn’t sink to the bottom. Pour the jam into warm and sterilized jars and secure with a lid. Turn the jam upside down so that the hot jam sterilizes the seal while creating a vacuum by allowing air to escape.
STERILISING YOUR JARS
Wash them in hot, soapy water, then dry them in an oven heated to 250 F for 10 minutes. The lids soak in the boiling water for 5 minutes. Always ladle the jam into warm jars.
STORING JAM
The jam will last in a cool, dark place for at least 6 months. Refrigerate jars once opened, and keep them as fresh as possible, by avoiding double dipping, and keep it in the fridge when you’re not using it.
